
Thoughtful listing photos start before the photographer arrives. A clean, well-lit home, a tidy entrance, and a plan for Issaquah’s changeable weather can help buyers see the features that matter. Pair that preparation with a pricing strategy grounded in comparable homes, and you’ll be better positioned for a confident launch.
Start With a Photo-Day Plan
Listing photos are often a buyer’s first look at your home, so give yourself time to prepare rather than trying to do everything the morning of the shoot. Walk through each room with your broker and identify the spaces and features worth highlighting. Then work backward from the photography appointment to schedule cleaning, minor repairs, staging, and any outdoor maintenance.
Begin with the tasks that take the most coordination. If a window needs repair, a room needs a fresh coat of paint, or a landscaping project requires help, arrange those services before booking the final cleaning. Ask your broker and photographer what their shoot includes, whether furniture will need to be moved, and how much time they expect to spend at the property.
Next, make a room-by-room list. A kitchen may need a deep clean and fewer countertop appliances; a living room may simply need furniture shifted to open up a walkway. Focus your budget on visible improvements that support the home’s actual condition, rather than assuming a major renovation will pay for itself. Your broker can help you weigh the likely benefit against the cost and your desired listing timeline.
Before committing to the appointment, decide where everyday items will go during the shoot. Laundry baskets, pet supplies, mail, and cleaning tools can be stored temporarily in a vehicle or an area the photographer does not need to photograph. Avoid filling closets or the garage without checking the shot list first: buyers may want to see those spaces, too.
Schedule repairs and outdoor work before the final cleaning. That order keeps fresh dust, footprints, and yard debris from undoing your photo-day preparation.
Make Each Room Easy to Read
Staging for photos is less about making a home look unfamiliar and more about helping its layout come through clearly. Remove excess furniture where practical, straighten rugs, and leave enough open floor space to show how rooms connect. A few intentional touches—a neatly made bed, clean towels, or a simple centerpiece—can add warmth without distracting from the space.
Give high-traffic spaces extra attention
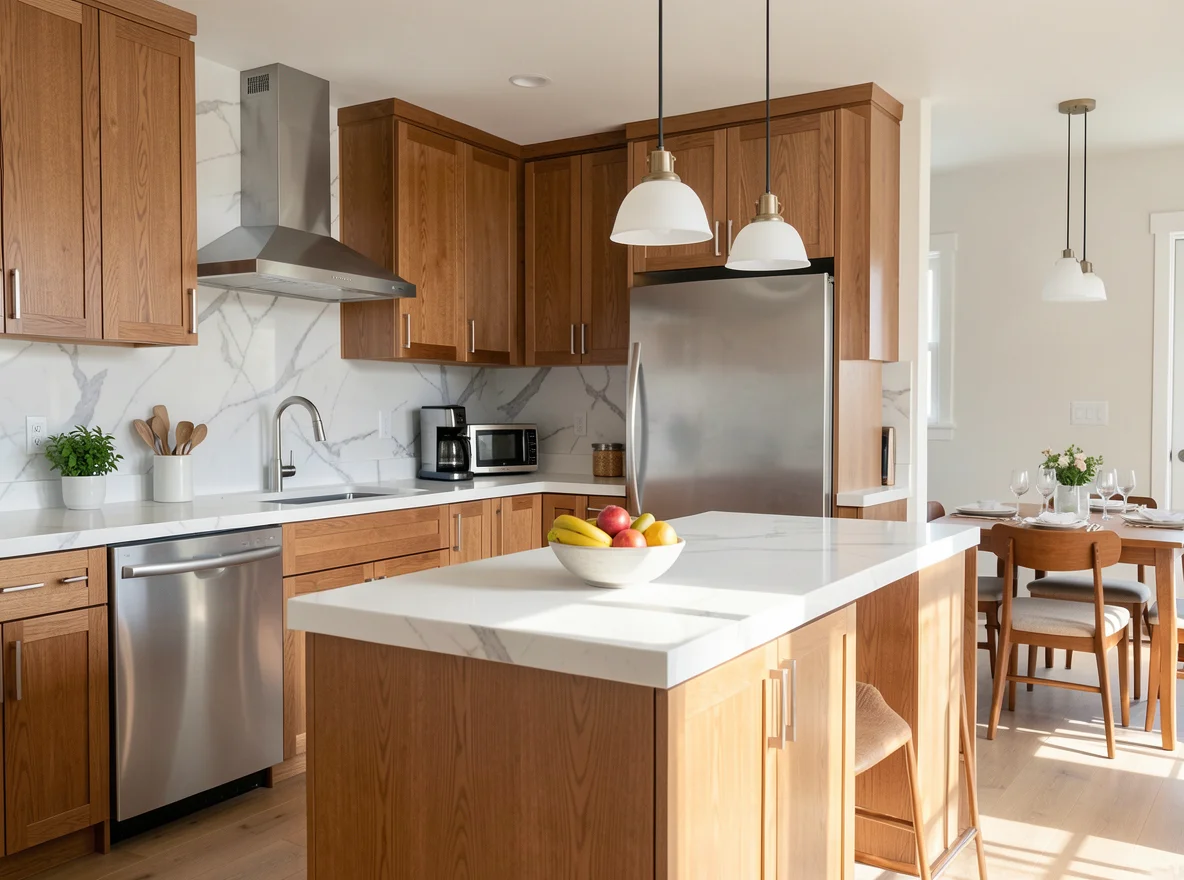
In the kitchen, clear the counters as much as possible, wipe cabinet fronts, polish the sink, and remove magnets and papers from the refrigerator. In bathrooms, put away toiletries, clean mirrors and fixtures, and close toilet lids. For living areas, organize visible cords, remove small clutter from tables, and arrange seating so the room’s shape and focal point are easy to understand.
Bedrooms benefit from smooth bedding, clear nightstands, and open pathways. If a room serves more than one purpose, choose an arrangement that makes its primary use clear while remaining truthful about its size. A desk placed near an outlet or a chair beside a window can suggest how a space functions without adding visual noise.
Let the light in
Clean interior windows and open blinds or curtains to bring in available daylight. Replace burned-out bulbs and use consistent bulb colors within a room where possible. Ask the photographer whether lights should be on or off; the answer can vary with the room and the conditions outside. Take a quick phone photo from a doorway to spot crooked artwork, reflections, or clutter you may have missed.
A clear countertop and clean windows often make a bigger difference in photos than buying new décor. Start with what you can remove, straighten, or clean.
Prepare the Exterior for Pacific Northwest Weather
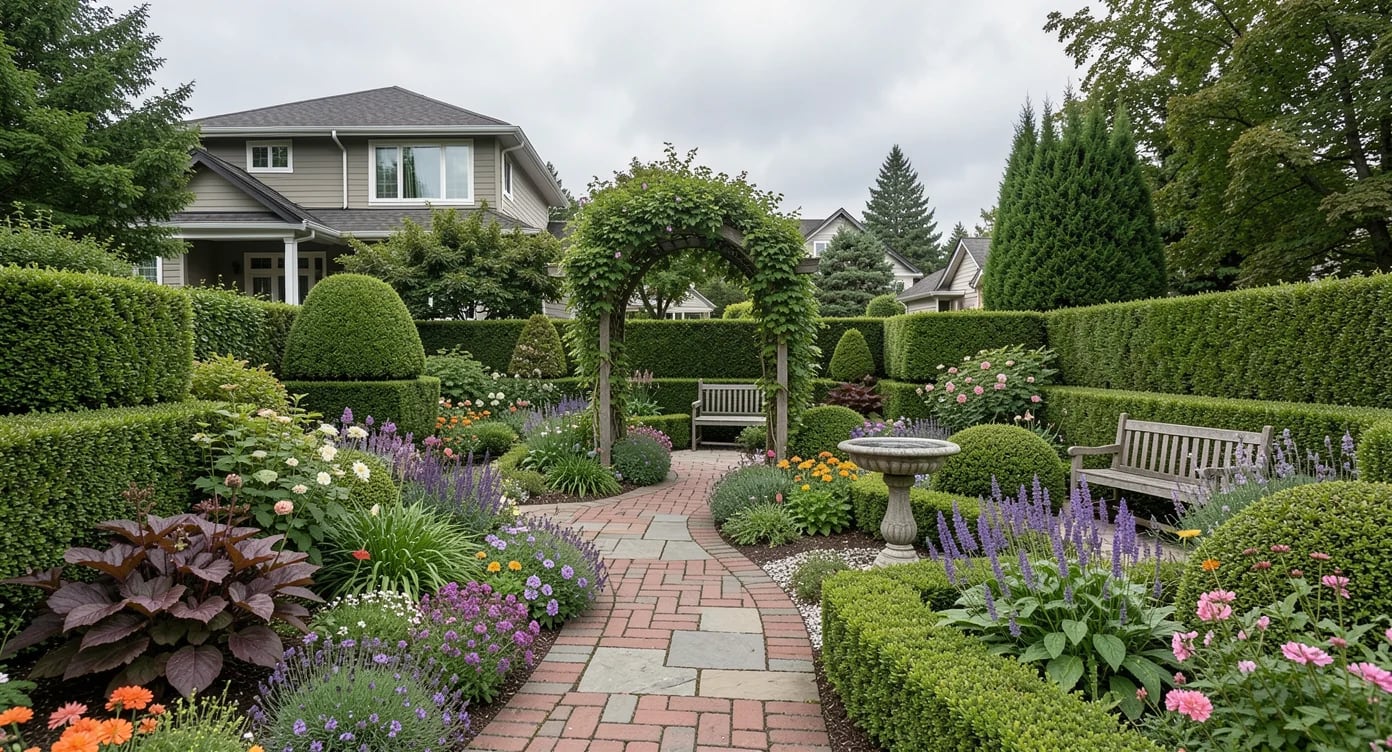
The entrance sets the tone for a listing, and a little outdoor attention can help it look welcoming in photographs. Sweep the walkway, trim vegetation that blocks windows or paths, move bins out of view, and tidy the porch. If you have a deck, patio, or garden, clear away loose tools and arrange outdoor furniture to show the available space.
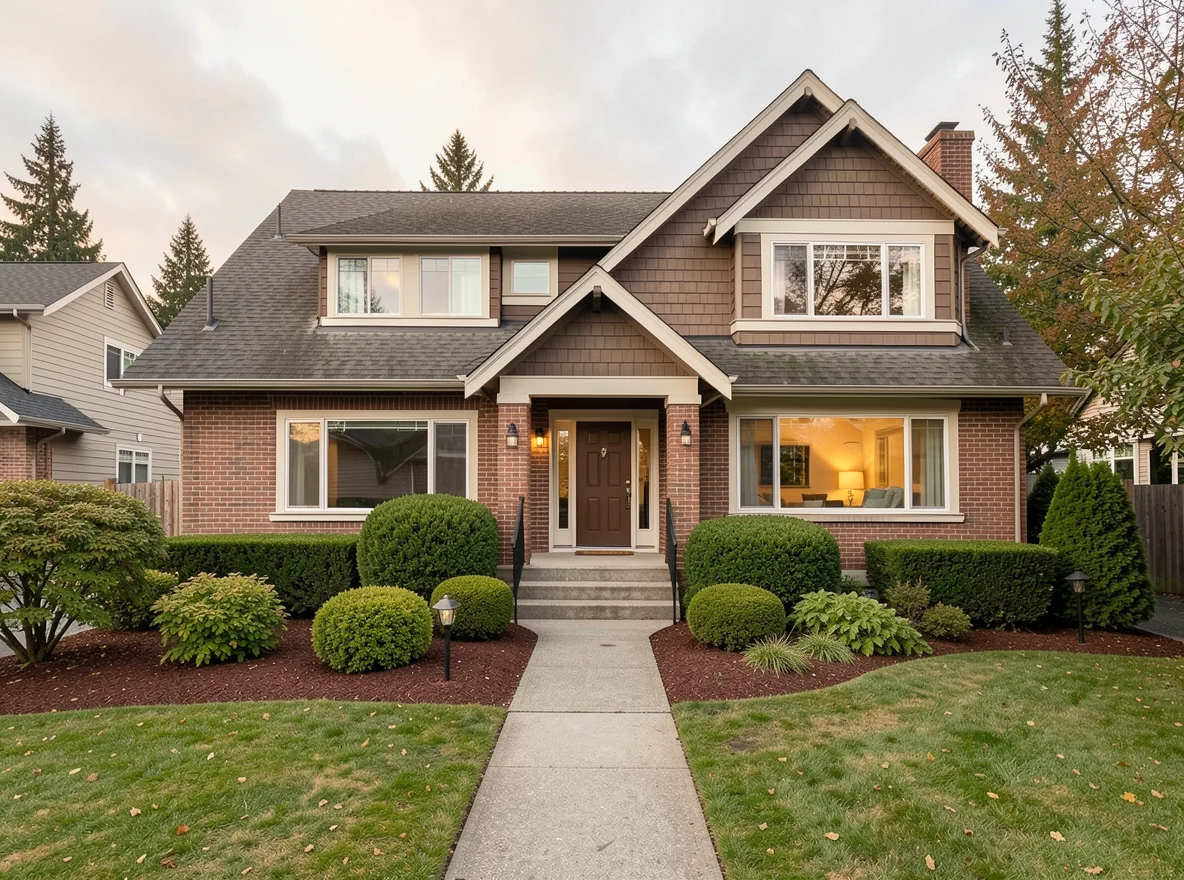
Weather can change the look of exterior shots, so discuss a backup plan with your photographer. Soft overcast light can work well, while heavy rain or wind may make it harder to present outdoor spaces clearly. Ask whether exterior photos can be taken separately if conditions are poor on the scheduled day, and keep flexibility in the listing timeline if a reshoot becomes necessary.
Look for small details the camera may notice: leaves on the steps, a hose across the lawn, muddy doormats, or vehicles blocking the front of the home. Clean outdoor windows if it is practical and safe to do so. Do not conceal drainage concerns, damaged materials, or other property issues for the sake of a photograph; speak with your broker about repairs and applicable disclosure obligations.
If the property has a view or a distinctive outdoor feature, tell the photographer where to find the best vantage point. The goal is an accurate representation, not an image that implies neighboring land or amenities are part of the property. Well-chosen photos should help buyers understand what they will see when they visit.
Connect Presentation to Your Pricing Strategy
Strong photos can help a listing make a clear first impression, but they do not replace a thoughtful asking price. Work with your broker to review recent sales of comparable Issaquah homes, as well as current listings that buyers may consider alongside yours. Compare location, size, condition, features, and timing rather than relying on a single online estimate or the asking price of a nearby home.
Discuss how your preparation choices affect the home’s position among those alternatives. A thorough clean and modest repairs may make sense even when larger updates do not. Also consider your selling timeline and the costs of any proposed work before deciding what to tackle. Market conditions and available inventory can change, so revisit the pricing conversation close to launch.
Use a Simple Final Checklist
On the morning of the appointment, take one last walk through the property. Put away valuables and personal documents, secure pets, and make sure the photographer can access the rooms and outdoor areas on the shot list. Clear personal photos and identifying information if you prefer more privacy, and check mirrors for items that might appear in reflections.
- Make beds, straighten cushions, and remove visible clutter.
- Clear and wipe kitchen and bathroom surfaces.
- Open window coverings and check light bulbs.
- Move bins, vehicles, hoses, and outdoor tools out of the planned shots.
- Confirm access, timing, and the weather backup plan with your photographer.
Once the images are ready, review them with your broker for accuracy before the listing goes live. A well-prepared home should look its best online and feel consistent with what buyers see in person. With a practical plan, careful presentation, and a price informed by the current market, you can move toward listing day with fewer last-minute surprises.